
The art of audio recording has evolved significantly over the years, with advancements in technology allowing for unprecedented levels of sound quality and visual representation. Whether it is capturing live performances, producing studio albums, or creating immersive soundscapes for film and television, understanding and implementing effective recording techniques can greatly enhance the overall experience for both artists and listeners alike. This article aims to explore various methods and approaches employed in audio recording, focusing on how these techniques contribute to improving the sonic fidelity and visual aesthetic of recorded material.
Imagine a scenario where a renowned musician is preparing to record their highly anticipated new album. In this case study, we will delve into the world of audio engineering as they collaborate with skilled professionals who meticulously employ cutting-edge recording techniques. By utilizing advanced microphone placement strategies, precise acoustic treatments, and sophisticated signal processing tools, our musician’s vision of achieving a sonically rich masterpiece becomes within reach. Through exploring different aspects such as microphone selection, room acoustics optimization, and post-production editing tricks, we will uncover the transformative impact that well-executed recording techniques have on elevating sound quality and enhancing visual elements in an audio production.
In order to grasp the significance of these practices, it is crucial to understand the underlying principles behind successful audio recording. From capturing From capturing the essence and nuances of a live performance to translating it into a recorded medium, audio recording encompasses several key elements. These include microphone selection, placement, and techniques, room acoustics optimization, signal processing and effects, as well as post-production editing and mastering.
Microphone selection is an important consideration in audio recording. Different types of microphones have unique frequency responses and polar patterns that can greatly impact the sound captured. Dynamic microphones are often used for live performances or capturing loud sound sources due to their durability and ability to handle high sound pressure levels. Condenser microphones, on the other hand, are more sensitive and accurate in capturing detail, making them ideal for studio recordings.
Once the appropriate microphone(s) are chosen, proper placement becomes crucial. Mic placement affects the tone, balance, and spatial characteristics of the recorded sound. Techniques such as close miking or distant miking can be employed depending on the desired effect. Close miking captures more direct sound while minimizing ambient noise but may result in less natural room ambience. Distant miking captures more of the room’s natural reverberation but can introduce additional background noise.
Room acoustics play a significant role in audio recording as they contribute to the overall sonic quality. Optimizing room acoustics involves addressing issues such as reflections, standing waves, and resonance that can color or distort the recorded sound. This can be achieved through acoustic treatment methods like adding diffusers or absorbers strategically placed within the space.
Signal processing tools such as equalization (EQ), compression, reverb/delay effects, and spatial imaging plugins allow engineers to shape and enhance recorded audio further. EQ helps adjust tonal balance by boosting or attenuating specific frequencies. Compression controls dynamic range by reducing peaks and boosting quieter sections of audio signals. Reverb and delay create artificial spaces or add depth to recordings.
Post-production editing involves tasks like removing unwanted noises or imperfections, aligning multiple takes or tracks, and adjusting the overall mix. Mixing involves balancing individual instruments and vocals, panning them in the stereo field, and applying effects to create a cohesive sonic image. Mastering is the final step where the entire album or project is polished, ensuring consistency in volume levels, frequency response, and overall sound quality across different playback systems.
By understanding and implementing these recording techniques, artists and engineers can achieve their desired sonic vision while creating an engaging visual aesthetic for their audience. The art of audio recording continues to evolve as new technologies emerge, pushing the boundaries of what is possible in capturing and manipulating sound.
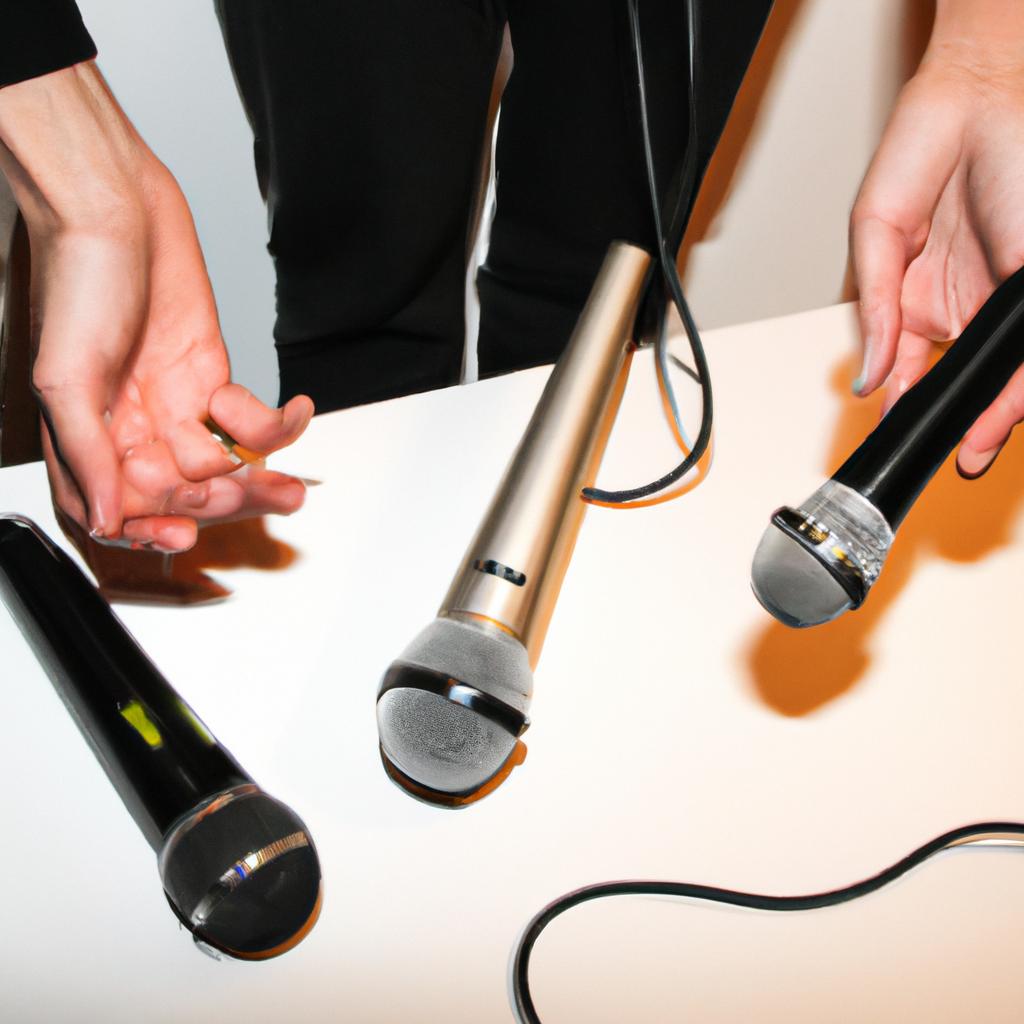
Choosing the right microphone for optimal sound quality
When it comes to audio recording, selecting the appropriate microphone is crucial in capturing high-quality sound. The wide range of microphones available on the market can be overwhelming, making it essential to understand their characteristics and determine which one best suits your needs.
To illustrate this point, let’s consider a hypothetical scenario where an aspiring singer-songwriter wishes to record a demo of their latest composition. They want the vocals to shine through with clarity while also capturing the subtle nuances of their guitar playing. By carefully choosing the right microphone, they can enhance both elements and create a captivating recording that resonates with listeners.
To help you make informed decisions about microphone selection, here are several key factors to consider:
-
Microphone type: Different types of microphones have distinct polar patterns, such as cardioid (capturing sound from the front), omnidirectional (capturing sound from all directions), or bidirectional (capturing sound from the front and back). Understanding these patterns will enable you to choose a microphone that focuses on specific sources while minimizing background noise.
-
Frequency response: Each microphone has its own frequency response range, indicating how well it reproduces different frequencies. Some microphones emphasize certain ranges more than others; for example, condenser microphones often excel at capturing detailed highs and lows, whereas dynamic microphones may prioritize mid-range frequencies.
-
Sensitivity: Microphone sensitivity refers to its ability to convert acoustic energy into electrical signals. Higher sensitivity allows for better capture of quiet sounds but may result in increased susceptibility to distortion or noise interference.
-
Durability: Consider the durability and construction of the microphone since some environments or applications may require robustness against physical impact or moisture resistance.
| Factors | Cardioid Microphone | Omnidirectional Microphone | Bidirectional Microphone |
|---|---|---|---|
| Polar Pattern | Captures sound from the front | Captures sound from all directions | Captures sound from the front and back |
| Frequency Response | Emphasizes certain frequencies | Balanced representation of frequencies | Balanced representation of frequencies |
| Sensitivity | Varies between models | Varies between models | Varies between models |
| Durability | High resistance to physical impact and moisture | May require additional protection in humid environments | Similar durability as cardioid microphones |
Understanding these factors will guide your decision-making process, ensuring that you select a microphone that best suits your recording goals. In the subsequent section, we will delve into another critical aspect of audio recording: understanding the impact of room acoustics on recordings.
Understanding the impact of room acoustics on recordings
Enhancing the Sound and Vision: Understanding the Impact of Room Acoustics on Recordings
Imagine this scenario: a talented musician enters a recording studio to record their latest composition. The microphone is carefully chosen, but as soon as they start playing, an unwanted echo fills the room, distorting the sound quality. This unfortunate outcome highlights the importance of understanding how room acoustics can significantly impact audio recordings.
-
The Role of Room Acoustics: In any recording environment, be it a professional studio or a home setup, the characteristics of the room play a crucial role in shaping the final sound captured by the microphone. Factors such as room size, shape, materials used for walls and flooring, furniture placement, and even windows all contribute to varying degrees of reflection, absorption, and diffusion of sound waves. For instance, smaller rooms tend to have more prominent resonance frequencies that result in boomy bass sounds or unpleasant flutter echoes.
-
Addressing Reflections with Absorption: To combat undesirable reflections within a space, acoustic treatment becomes essential. By strategically placing absorbent materials like foam panels or diffusers on walls or ceilings, excessive reverberation can be reduced. These treatments help minimize reflections off hard surfaces and create an acoustically controlled environment conducive to capturing clearer recordings with improved intelligibility.
-
Diffusion for Enhanced Soundscapes: While absorption helps control reflections by absorbing sound energy outright, diffusion disperses sound waves evenly throughout a space. Diffuser panels are designed to scatter incoming sound waves at various angles rather than reflecting them directly back into the recording area. This creates a sense of spaciousness while maintaining clarity and preventing cluttered auditory environments often associated with untreated spaces.
-
Considerations for Optimal Recording Spaces:
- Size matters: Smaller rooms may require additional attention due to higher chances of standing waves.
- Furniture arrangement: Carefully arranging furniture can help break up sound reflections and improve recording quality.
- Window treatment: Windows, as reflective surfaces, should be addressed using curtains or blinds to minimize unwanted sonic artifacts.
- Multiple microphone techniques: Experimenting with different microphone placements within a room can offer varied perspectives on the recorded audio.
Understanding the impact of room acoustics is essential for achieving high-quality recordings that accurately capture an artist’s vision. By implementing acoustic treatments like absorption and diffusion, musicians and audio engineers can create an environment conducive to capturing pristine audio.
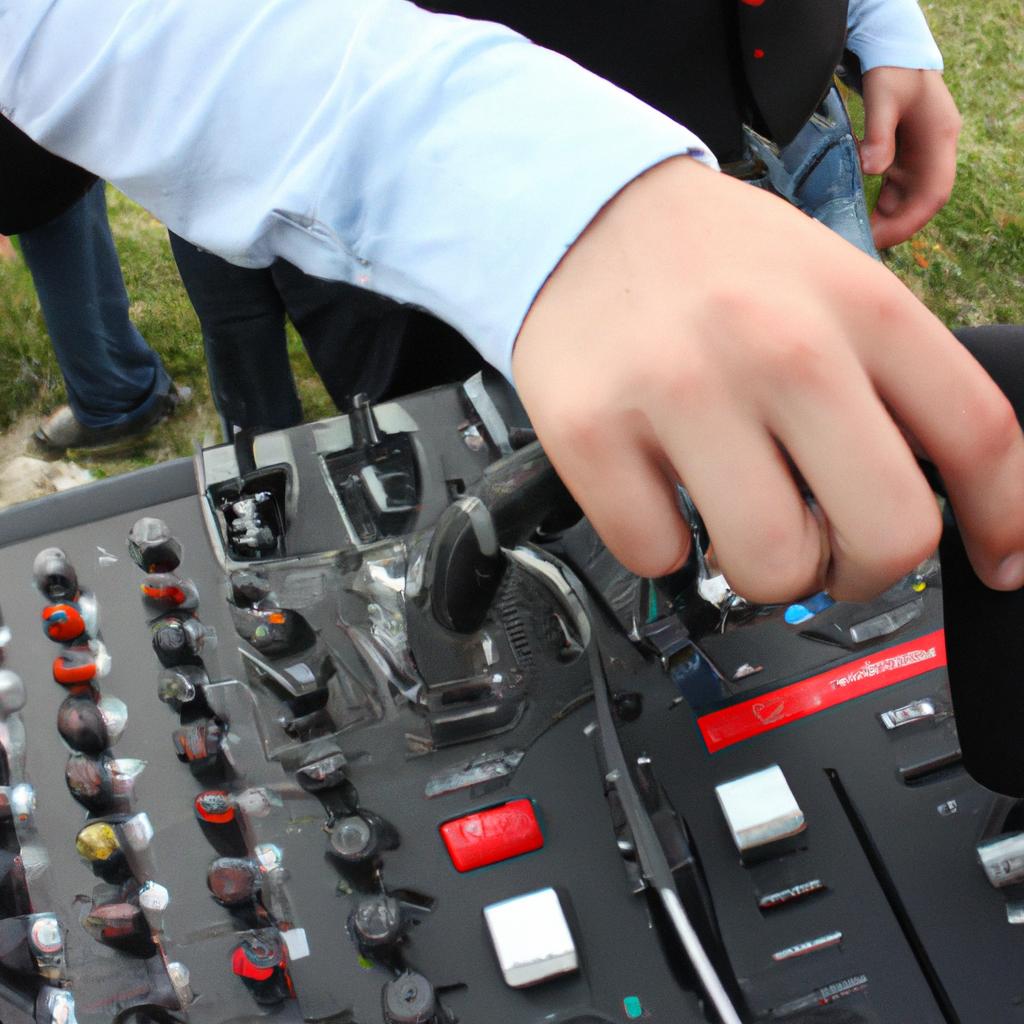
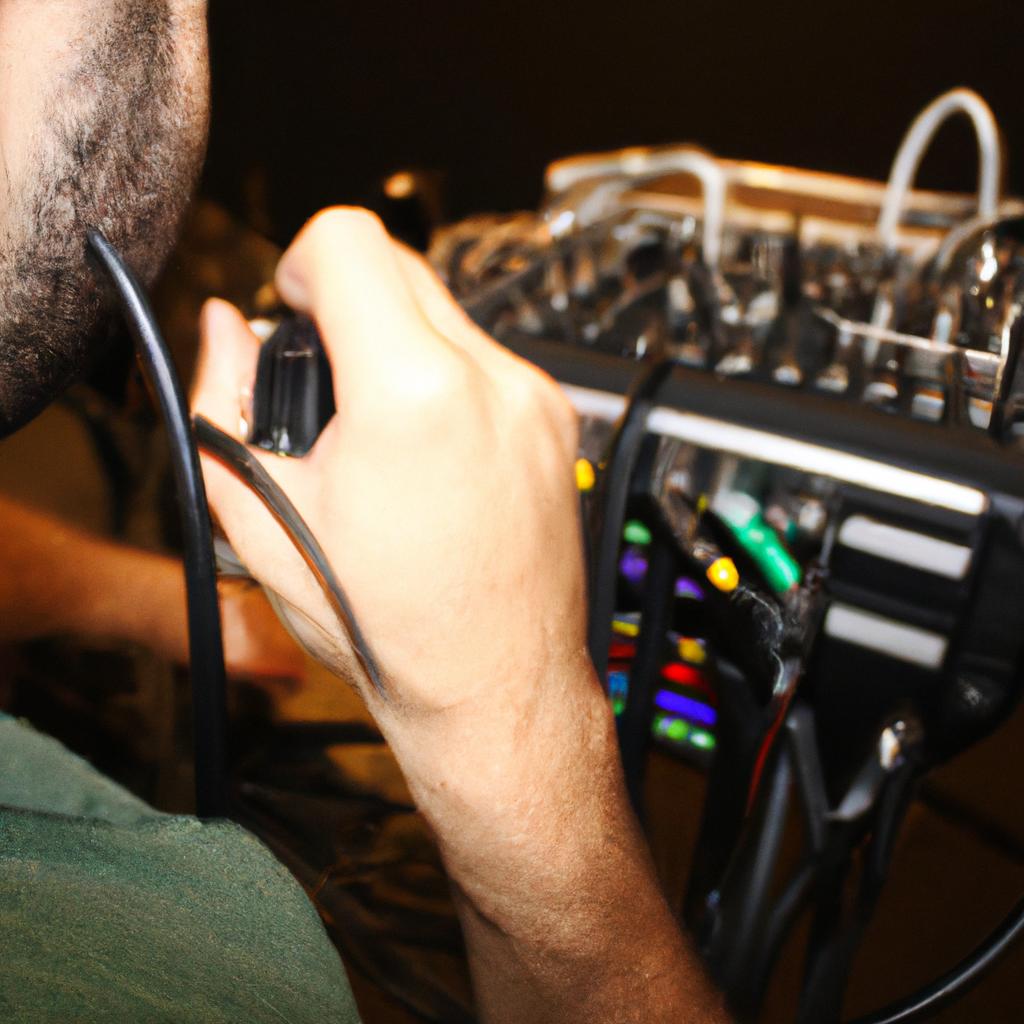
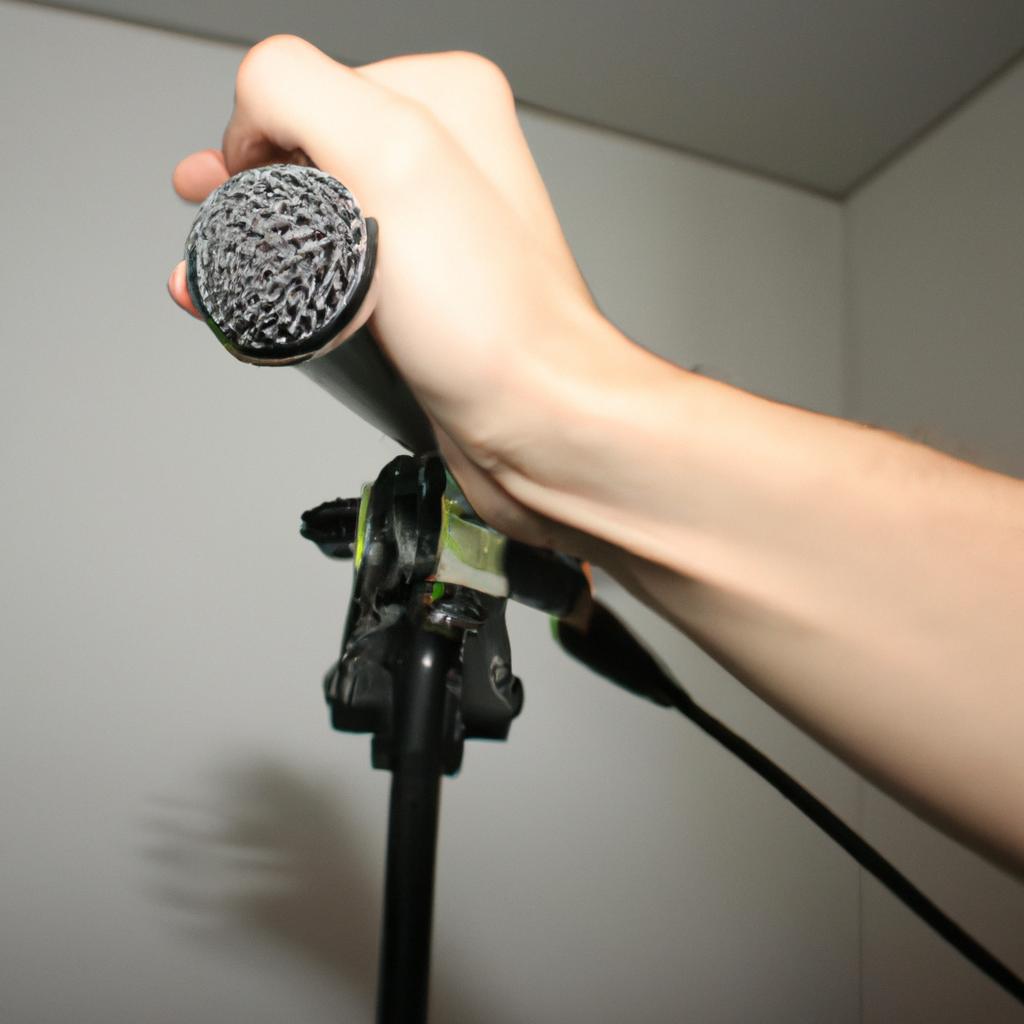
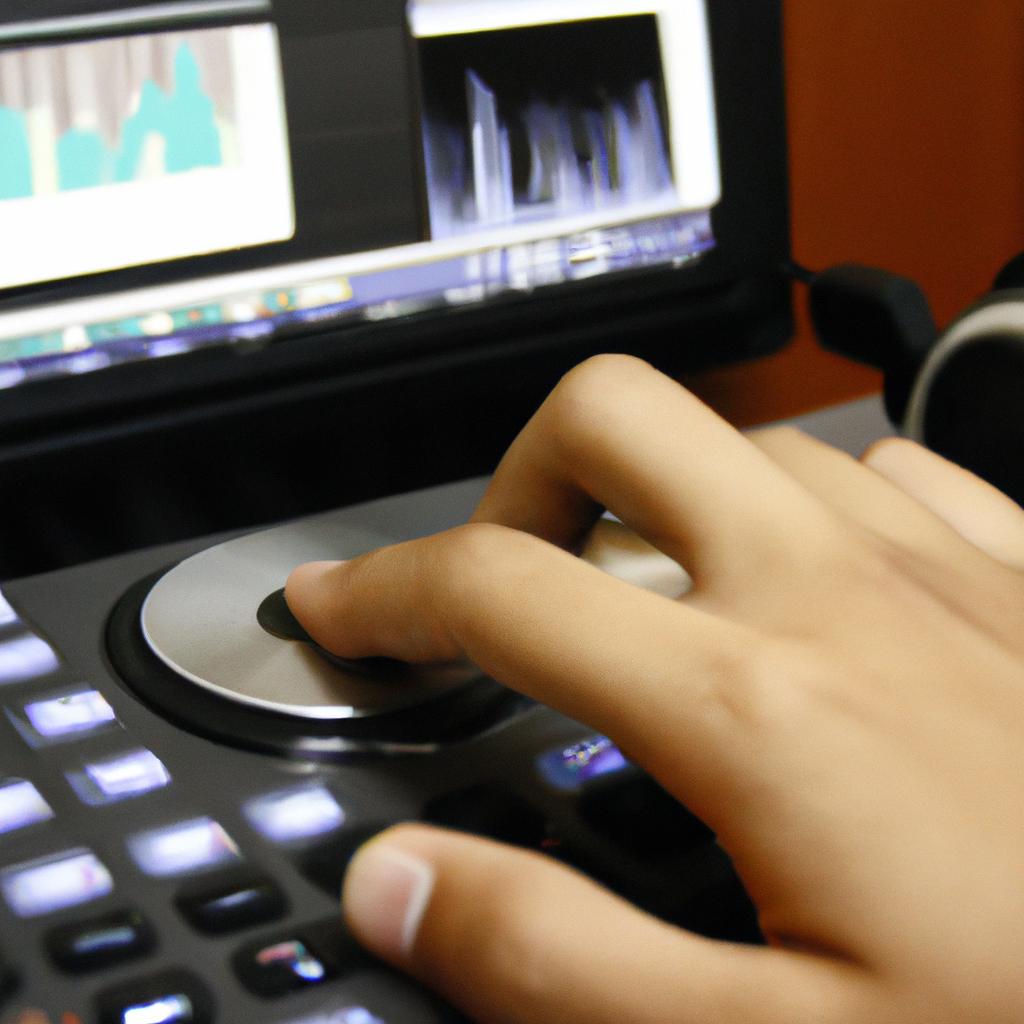
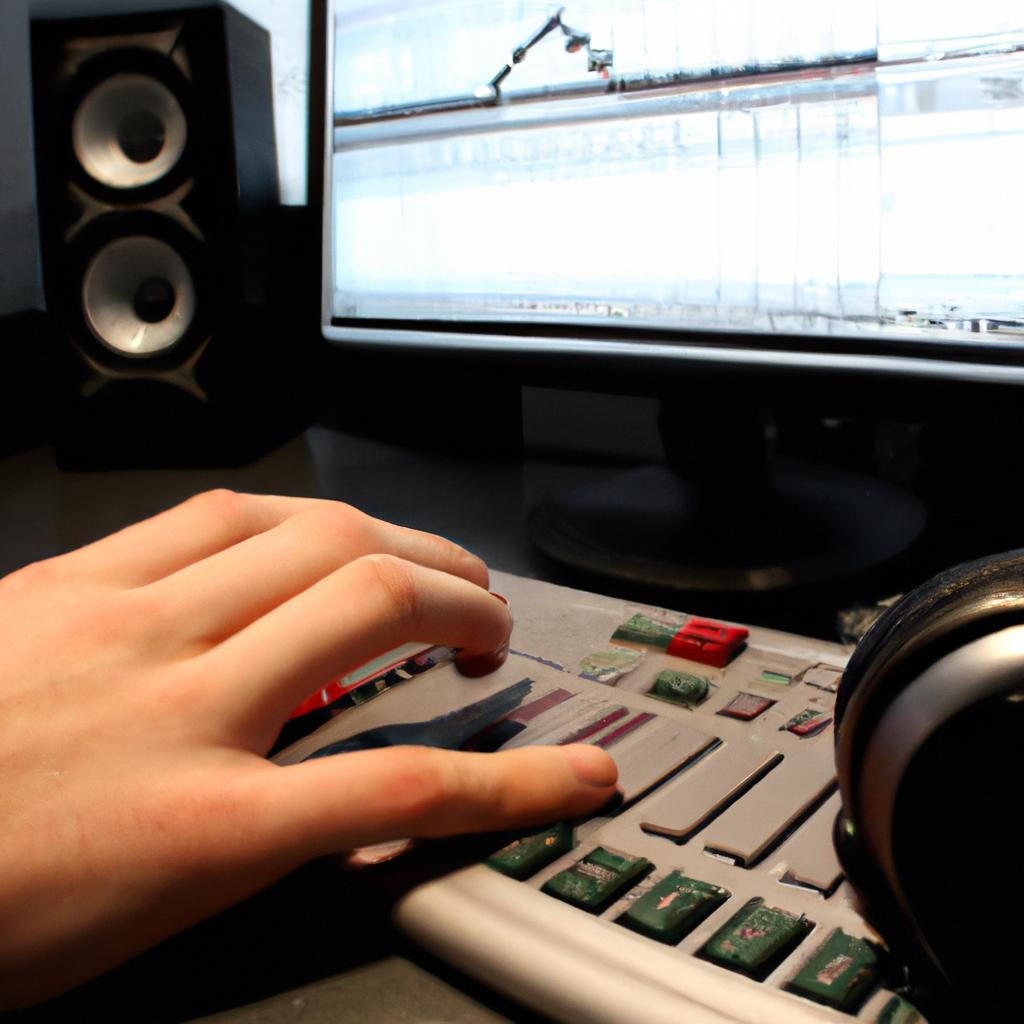
Implementing proper microphone placement techniques
Understanding the impact of room acoustics on recordings is crucial for achieving high-quality audio. By manipulating the sound waves within a space, we can enhance the overall recording experience and optimize the final output. Let’s explore some key techniques that can help us improve our recordings by taking control of room acoustics.
One example of how room acoustics affect recordings is when working in a small, untreated room with hard surfaces. In this scenario, sound reflections can create unwanted echoes and reverberations, resulting in a muddy and unclear recording. To address this issue, one approach is to implement acoustic treatment such as diffusers or absorbers strategically placed throughout the room. These materials help to minimize excessive reflections, creating a more balanced and controlled acoustic environment.
To further enhance sound quality during recording sessions, consider implementing proper microphone placement techniques. The position of microphones relative to instruments or vocalists plays a significant role in capturing accurate and well-balanced sound. Here are some guidelines to keep in mind:
- Experiment with various microphone distances and angles to find the sweet spot that captures the desired tonal qualities.
- Take into account proximity effect when positioning dynamic microphones: closer placement emphasizes bass frequencies while distant placement reduces low-end response.
- Use cardioid or hypercardioid polar patterns to isolate sound sources from unwanted ambient noise.
- Consider using stereo miking techniques like XY or ORTF for capturing wider spatial imaging.
By following these practices, you will be able to achieve cleaner recordings with improved clarity and definition. Now let’s delve into exploring the benefits of using a pop filter in our audio recording setup.
| Benefits of Using a Pop Filter |
|---|
| Reduces plosive sounds |
| Minimizes wind noise |
| Enhances vocal intelligibility |
| Protects microphones from moisture |
In summary, understanding how room acoustics impact recordings allows us to make informed decisions about improving sound quality. By implementing acoustic treatment and employing proper microphone placement techniques, we can create a more controlled recording environment and capture clearer, well-defined audio. Next, let’s explore the benefits of using a pop filter in our setup to address another important aspect of audio recording.
Exploring the benefits of using a pop filter
Implementing proper microphone placement techniques is crucial in achieving high-quality audio recordings. By strategically positioning the microphones, sound engineers can capture the desired sound and minimize unwanted noise or interference. Let’s consider an example: imagine recording a live band performance. Placing microphones at different locations, such as near the drums, guitar amps, and vocals, allows for capturing each instrument’s unique characteristics while maintaining balance within the mix.
To ensure optimal microphone placement, it is essential to keep a few key considerations in mind:
-
Distance from the source: The distance between the microphone and the sound source affects both the overall volume level and the amount of room ambiance captured. Moving closer to the source increases direct sound pickup while reducing background noise.
-
Angle and direction: Microphone angle and direction play a significant role in capturing specific tonal qualities. Experimenting with various angles can result in variations in frequency response and stereo imaging.
-
Proximity effect: Certain types of microphones exhibit proximity effect—the increase in bass response when placed close to a sound source. This effect can be utilized creatively, but it should also be managed carefully to avoid overpowering low-end frequencies.
Now let’s delve into some emotional responses that arise when employing effective microphone placement techniques:
- Excitement: When properly placing microphones on instruments during a live concert recording, it creates an immersive experience for listeners who couldn’t attend in person.
- Intimacy: Precise microphone placement for vocal recordings can evoke emotions by capturing subtle nuances like breaths or whispered phrases.
- Authenticity: In field recordings or documentary projects, skillful mic positioning ensures faithful representation of soundscape elements, enhancing realism for viewers.
- Balance: Achieving balanced levels among multiple sources through strategic microphone placement contributes to creating harmonious mixes that resonate well with listeners’ ears.
Below is a table highlighting common microphone placements for different musical instruments:
| Instrument | Microphone Placement |
|---|---|
| Drums | Overhead, kick drum close mic, snare top and bottom mic |
| Guitar | Close to the amp speaker or at the 12th fret for acoustic guitar |
| Piano | Stereo pair above the piano strings or individual mics on each side of the instrument |
| Vocals | Around six inches from the singer’s mouth with a pop filter |
By implementing proper microphone placement techniques, sound engineers can effectively capture audio in various contexts. However, capturing high-quality sound is only one aspect of achieving an exceptional recording.
Utilizing EQ and compression to enhance audio recordings
In audio recording, achieving a clean and professional sound is essential. Utilizing equalization (EQ) and compression techniques can greatly enhance the quality of recorded audio. By carefully manipulating these tools, producers can effectively shape the tonal balance and dynamics of their recordings to create an engaging auditory experience for listeners.
Example Scenario:
To illustrate the impact of EQ and compression, consider a hypothetical scenario where a singer-songwriter has recorded a vocal track that lacks clarity and presence. The vocals seem buried within the mix, making it difficult for listeners to fully appreciate the lyrics. In this case, applying appropriate EQ adjustments and compression settings can help bring out the vocals’ nuances while ensuring they sit well within the overall mix.
Benefits of Using EQ:
- Balances frequency content: With careful application of EQ, specific frequencies can be boosted or attenuated to achieve a more balanced sonic output.
- Removes unwanted elements: EQ allows for precise removal of unwanted resonances or background noises that may have been captured during recording.
- Adds character and warmth: By subtly enhancing certain frequency ranges, EQ can add depth and richness to individual tracks or even entire mixes.
- Creates separation in busy mixes: Properly applied EQ helps prevent different instruments from competing for sonic space by carving out distinct frequency areas for each element.
Benefits of Using Compression:
- Controls dynamic range: Compression reduces the difference between loud and soft parts in a recording, resulting in a more consistent volume level.
- Increases sustain and presence: When used appropriately on individual tracks such as vocals or guitars, compression adds sustain to notes and enhances their perceived presence in the mix.
- Ensures better blend in dense arrangements: In complex compositions with multiple layers, compression helps maintain clarity by controlling excessive peaks that might otherwise overpower other elements.
- Improves overall mix cohesion: By taming overly dynamic sections or instruments within a mix, compression contributes to a more cohesive and professional-sounding final product.
Through the careful application of EQ and compression, audio recordings can be transformed from raw captures into polished productions. These techniques allow producers to shape the tonal balance, remove unwanted elements, and control dynamics, ultimately enhancing the overall listening experience for audiences. In the following section on “Enhancing the visual experience through creative lighting techniques,” we will explore how visuals can further complement the improved audio quality achieved through these recording techniques.
Enhancing the visual experience through creative lighting techniques
Transitioning from the previous section, where we explored the use of EQ and compression to enhance audio recordings, let us now delve into another aspect of recording techniques: enhancing the visual experience through creative lighting techniques. Visual elements play a crucial role in capturing audience attention and creating an immersive atmosphere that complements the audio content. By carefully crafting lighting setups, audio recordings can be elevated to new heights.
To illustrate this point, let’s consider a hypothetical scenario involving a live music performance being recorded for later distribution. In this case, the lighting design becomes essential in accentuating the mood and energy conveyed by the musicians on stage. By utilizing different color temperatures, intensity levels, and dynamic movements of lights synchronized with the music, one can create visually captivating moments that enhance the overall impact of the recording.
When it comes to implementing effective lighting techniques for audio recordings, several considerations come into play:
-
Lighting Design: A well-thought-out lighting design is fundamental in setting the desired ambiance for each scene or segment within an audio recording. This involves strategically placing various types of lights (e.g., spotlights, floodlights) at specific angles to highlight key elements or performers while maintaining balance throughout.
-
Color Temperature: The choice of color temperature has a significant influence on how individuals perceive a particular scene or subject. Cool colors (such as blues and purples) evoke calmness or melancholy emotions, whereas warm colors (like reds and oranges) tend to generate feelings of warmth and excitement.
-
Dynamic Lighting Effects: Incorporating dynamic lighting effects like strobes or moving lights can add an element of surprise and spectacle to audio recordings. Timed correctly with musical cues or transitions, these effects can heighten certain moments within a performance and engage viewers on a deeper emotional level.
-
Light Versatility: Having adjustable lights that allow for flexibility during productions is crucial. Dimmable lights provide control over light intensity levels while allowing for smooth transitions between scenes, ensuring a seamless visual experience throughout the recording.
To further illustrate these concepts, consider the following table showcasing different lighting techniques and their corresponding emotional impact:
| Lighting Technique | Emotional Impact |
|---|---|
| Soft, diffused light | Calmness and serenity |
| Intense spotlight | Focus and intensity |
| Flickering lights | Tension and suspense |
| Moving color washes | Dynamic and energetic |
In conclusion, by incorporating creative lighting techniques into audio recordings, we can augment the overall visual experience while complementing the sonic elements. Careful consideration of lighting design, color temperature choices, dynamic effects, and light versatility all contribute to creating an immersive environment that captivates viewers’ attention.

